Members, formation and training
Choose your five members and leader outfit, then train the members you use. Start with outfit and card compatibility before deciding where to spend materials.
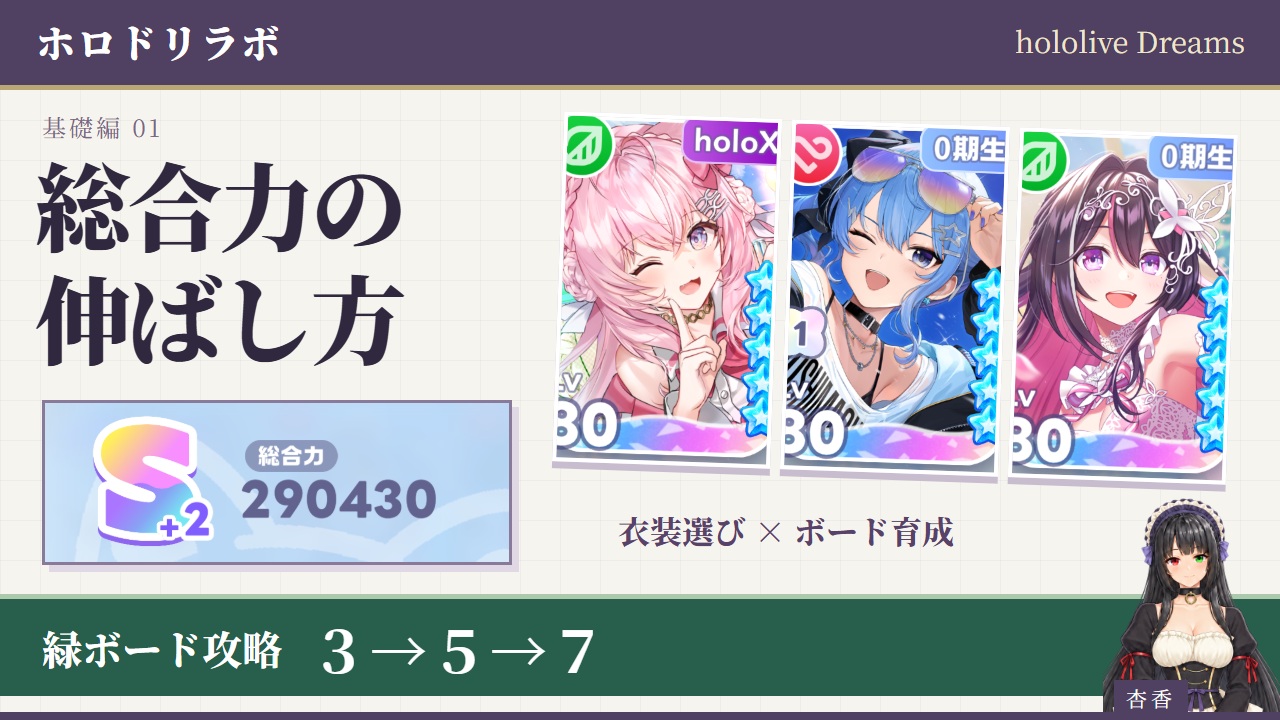
Choose five members and an outfit
- Check your cards' stats and skills in Member data.
- Check the stats and targets of your leader outfit in Outfit data.
- Enter your cards, outfit and Boards in the simulator, then compare formation orders.
When setting up a unit, check how Member stats and skills work together. The card order affects the activation order of Special Skills, so adjust the order as well. See Live for how skills work during a Live.
Match the outfit to the parameter distribution
A five-star card's 40 to 44 type describes its largest parameter as a share of its total. Type 40 is more balanced; type 44 is more specialized.
In the video's Bloom 2 comparison, type 40 has about 200 more total parameters, while type 44 has about 950 more in its strongest parameter. On a Sense-specialized type 44, a Sense +135% outfit adds roughly 2,400 more than an all-parameter +50% outfit. Including base values and outfit gains, type 44 overtakes type 40 by around 1,000 in this example.
Gathering cards strong in the outfit's target parameter makes specialization effective. Raw totals and outfit rarity alone do not describe the fit. Read the skill basics covers the skill side.
Levels, training, Bloom and the member bonus
Main-unit levels, training and five-star Bloom 2 raise the base for percentage bonuses. Cards outside the unit contribute to the member training bonus at level 20. Level 1 → 20 costs 11,400 lesson points.
When two upgrades yield similar total power, the cheaper one can take priority. Collecting Memories also improves all five members.
Prioritize red, blue and green boards
Focus red-board training on the Holomem you actually use as leader, and blue-board training on your five members. Green boards work even when their owner is outside the unit.
At the entrance, an all-parameter +50 red node adds 50×3×5=750 across the unit. The same +50 blue node adds 150 to its owner. An all-parameter +5 green node adds 75 across five members. Recipient count matters alongside the displayed value.
Choose Connect shapes and effects that cover unlocked nodes. See Connect placement and value for diagrams. Yellow song bonuses also affect score.
Green boards: 3 → 5 → 7 and group bonuses
Start with cheap three-node, cross-shaped five-node and seven-node routes across owned Holomem. Insert group bonuses according to the number of eligible unit members. This ordering compares small green material costs.
| Group distribution | Eligible members | When to collect group bonuses |
|---|---|---|
| 50 / 150 / 100 | 1 | Reach 800 after everyone's 3 nodes, then 900 after everyone's 5 |
| 50 / 150 / 100 | 2 | Reach 800 before everyone's 3 nodes |
| 50 / 150 / 100 | 3+ | Reach 900 before everyone's 3 nodes |
| 75 / 225 / 150 | 1 | Reach 900 after everyone's 3 nodes |
| 75 / 225 / 150 | 2+ | Reach 900 before everyone's 3 nodes |
Groups with at least four in-game Holomem normally use 50 / 150 / 100; three-member groups use 75 / 225 / 150. Fubuki splits effects between Generation 1 and GAMERS, so count recipients separately.
Taking the route through the large node on three boards reaches 900. If one Holomem spends points on red or blue, another in the same group can supply the difference. With no eligible group members, continue everyone's 3 → 5 → 7 routes.
The video's three-Generation-0 example gained roughly 9,500 total power by moving from untrained green boards to group 900.
Training
Strengthen Members through the holomem Board. Check stats such as Performance, Technique, and Sense, then prioritize Members that suit the units you use most.
holomem Board
Each holomem has its own Board. Unlocking cells grants effects used in Lives, mini-games, and more.
- Leader type: Effects that apply when the holomem is the Leader of a Live unit.
- Member type: Effects that apply when the holomem is a Member of a Live unit.
- Support type: Effects that apply even when the holomem is not in the unit.
- Connect cells: Place a Member to activate that Member's Connect effect. The assignment can be changed at any time for free. A Member card can be placed in only one Connect cell and cannot be placed in the Connect cells of two holomems at the same time.
Unlocking cells other than Connect cells requires various Cubes, Core Cubes, and that holomem's Board Pt. Cubes can be obtained from the Exchange and holowork. You receive holomem Board Pt by raising holomem Rank, and can collect the EXP needed for Rank Up by completing each holomem's Achievements.
Connect range and selection
A Connect boosts unlocked nodes within the assigned card's shape at its listed rate. “Eight cells” describes its range, not a guarantee of eight effective nodes. Empty positions, locked nodes, and unmet effect conditions do not contribute to score, so first check what the placement actually strengthens.
A 135% rate adds 135% of the original effect. For example, a 4% Score Support node becomes 4 × (1 + 1.35) = 9.4%. This does not mean 135% more final score. A four-cell shape with a higher rate can therefore outperform an eight-cell shape.
Check whether the Board owner is the Leader or a performing Member and whether song singer requirements are met, then choose reachable support and stat nodes. Left and right shapes cover different effects, so the better direction can change with Board development even at the same rate. Match the slot, unlocks, and bloom when comparing, and separate filling an empty slot from replacing a developed card.
See Choosing and using Connects for a spatial map, matched results, and a reversal during partial development.
レベルアップ
レベルアップ raises a Member's stats. The stat increase is generally the same at every level. The required レッスンPt can be obtained from ホロワーク, ねぽらぼマート, and other sources. The cumulative value below is the レッスンPt required from Lv. 1 to each level; the previous-level value is the Pt required from the immediately preceding level.
| Lv. | Total | Previous | Lv. | Total | Previous | Lv. | Total | Previous |
|---|---|---|---|---|---|---|---|---|
| 2 | 40 | 40 | 3 | 100 | 60 | 4 | 190 | 90 |
| 5 | 310 | 120 | 6 | 460 | 150 | 7 | 650 | 190 |
| 8 | 880 | 230 | 9 | 1,160 | 280 | 10 | 1,500 | 340 |
| 11 | 1,900 | 400 | 12 | 2,400 | 500 | 13 | 3,000 | 600 |
| 14 | 3,700 | 700 | 15 | 4,550 | 850 | 16 | 5,500 | 950 |
| 17 | 6,700 | 1,200 | 18 | 8,050 | 1,350 | 19 | 9,600 | 1,550 |
| 20 | 11,400 | 1,800 | 21 | 13,500 | 2,100 | 22 | 15,900 | 2,400 |
| 23 | 18,600 | 2,700 | 24 | 21,600 | 3,000 | 25 | 24,900 | 3,300 |
| 26 | 28,550 | 3,650 | 27 | 32,550 | 4,000 | 28 | 36,900 | 4,350 |
| 29 | 41,600 | 4,700 | 30 | 46,650 | 5,050 | 31 | 52,050 | 5,400 |
| 32 | 57,850 | 5,800 | 33 | 64,050 | 6,200 | 34 | 70,650 | 6,600 |
| 35 | 77,650 | 7,000 | 36 | 85,050 | 7,400 | 37 | 92,850 | 7,800 |
| 38 | 101,050 | 8,200 | 39 | 109,650 | 8,600 | 40 | 118,650 | 9,000 |
特訓
特訓 raises the level cap. The required items can be obtained from Lives, ホロワーク, and other sources.
開花
開花 strengthens Skills, コネクト効果, and more. Each Member can 開花 up to five stages; the required Pt is obtained by getting the same Member again.
The six components of total power
| Component | Contribution |
|---|---|
| Member parameters | Base Performance, Technique and Sense across five members |
| Holomem Board effects | Parameter gains from red, blue and green boards |
| Outfit Skill | Gains from the leader outfit when its conditions are met |
| Passive Skills | Parameter gains applied to eligible members |
| Memories | Percentage bonuses applied to all five members |
| Member training bonus | Calculated after the other applicable bonuses |
Most percentage bonuses use base parameters. Raising that base also increases the bonus gains. With the same skills, judgments and other conditions, score scales with total power.
Owned-card screens include blue- and green-board bonuses. Gacha previews show maximum training under different conditions. Bloom 2 parameter gains are included in the base values.
Stats, Modifiers, and Total Power
Performance, Technique, and Sense have no difference in score calculation. Total Power itself is the basis for score calculation.
Passive Skills, Outfit Skills, and Memory
For each applicable Member and applicable stat, Passive Skills calculate their effect separately and round fractions up. Multipliers are added together first, then multiplied by the base stat. For effects limited to a number of recipients, eligible Members are selected by the sum of their three base stats, highest first. Ties are resolved by formation order, with earlier slots taking priority.
Outfit Skills also use the base stat and round fractions up for each stat.
Memory works the same way and applies to every stat of every Member. The initial five Memory cards grant a combined 1% bonus, or 0.2% per card.
Member Enhancement Bonus
Raising a Member to Lv. 20 or higher grants a Member Enhancement Bonus. For each Member, add their Performance, Technique, and Sense after applying Outfit Skill, Passive Skill, and Memory effects; the bonus is 0.06% of that total, rounded up. The game does not round each of the three stats separately: it rounds once after adding them together. You can check the bonus value at the bottom left of the Members page. As a result, even Members outside your unit contribute a small amount to your score.
Formula
Pre-Enhancement Stat for each attribute = Base Stat + Outfit Skill Effect + Passive Skill Effect + Memory Effect
Pre-Enhancement Total Power = Pre-Enhancement Performance + Pre-Enhancement Technique + Pre-Enhancement Sense
Member Enhancement Bonus = ceil(Pre-Enhancement Total Power × 0.06%)
Enhanced Total Power = Pre-Enhancement Total Power + Member Enhancement Bonus
Final Total Power = Sum of every Member's Enhanced Total Power
Members
Each Member has different stats and skills. Start by training the Members you use often or like, then add them to your unit. Members are ★3, ★4, or ★5; their initial level caps are 20 for ★3, 30 for ★4, and 40 for ★5.
Stat distribution types
Sort a card's three base stats from highest to lowest and classify it by the highest stat's share of their sum, such as “40% type” or “42% type.” This classification is independent of which stat is Sense, Performance, or Technique; cards of the same type can assign them in different orders. Percentages are rounded to one decimal place.
Cards use the nine distributions below. Five-star cards use five types from 40% to 44%; four-star cards use 40%, 41%, 42%, 45%, and 46%; three-star cards use all nine types from 39% to 47%. None has three equal stats. The 40% type is the least concentrated five-star distribution.
| Type | Highest | Middle | Lowest | Rarities |
|---|---|---|---|---|
| 39% | 39.0% | 31.1% | 29.9% | ★3 |
| 40% | 40.0% | 30.6% | 29.4% | ★5・★4・★3 |
| 41% | 41.0% | 30.7% | 28.3% | ★5・★4・★3 |
| 42% | 42.0% | 30.2% | 27.8% | ★5・★4・★3 |
| 43% | 43.0% | 30.2% | 26.8% | ★5・★3 |
| 44% | 44.0% | 29.7% | 26.3% | ★5・★3 |
| 45% | 45.0% | 29.7% | 25.3% | ★4・★3 |
| 46% | 46.0% | 29.2% | 24.8% | ★4・★3 |
| 47% | 47.0% | 29.2% | 23.8% | ★3 |
Base stat values
Values below assume Special Training 4, bloom 0, and each rarity's maximum level: 80 for five-star, 70 for four-star, and 60 for three-star. Outfit, Passive, Memory, Board, and Member Enhancement effects are excluded. Stats are ordered from highest to lowest.
| Rarity | Type | Highest | Middle | Lowest | Total |
|---|---|---|---|---|---|
| ★5 | 40% | 9,484 | 7,256 | 6,971 | 23,711 |
| ★5 | 41% | 9,702 | 7,264 | 6,697 | 23,663 |
| ★5 | 42% | 9,917 | 7,131 | 6,564 | 23,612 |
| ★5 | 43% | 10,132 | 7,116 | 6,315 | 23,563 |
| ★5 | 44% | 10,346 | 6,984 | 6,184 | 23,514 |
| ★4 | 40% | 8,062 | 6,168 | 5,926 | 20,156 |
| ★4 | 41% | 8,246 | 6,175 | 5,692 | 20,113 |
| ★4 | 42% | 8,430 | 6,062 | 5,580 | 20,072 |
| ★4 | 45% | 8,975 | 5,924 | 5,046 | 19,945 |
| ★4 | 46% | 9,155 | 5,812 | 4,936 | 19,903 |
| ★3 | 39% | 6,024 | 4,804 | 4,618 | 15,446 |
| ★3 | 40% | 6,165 | 4,717 | 4,532 | 15,414 |
| ★3 | 41% | 6,306 | 4,722 | 4,353 | 15,381 |
| ★3 | 42% | 6,446 | 4,635 | 4,267 | 15,348 |
| ★3 | 43% | 6,586 | 4,626 | 4,105 | 15,317 |
| ★3 | 44% | 6,725 | 4,540 | 4,020 | 15,285 |
| ★3 | 45% | 6,863 | 4,530 | 3,859 | 15,252 |
| ★3 | 46% | 7,001 | 4,444 | 3,775 | 15,220 |
| ★3 | 47% | 7,138 | 4,435 | 3,615 | 15,188 |
Within a rarity, a more concentrated type has a higher main stat but a slightly lower sum of all three stats. Between the five-star 40% and 44% types, the main stat differs by 862 and the total by 197. Outfits and Passives that boost a single stat can turn this distribution difference into a Total Power difference. The type percentage describes stat distribution, not a final-score increase.